The Big Backyard Chicken Starter Guide: Everything You Need to Know to Raise Backyard Chickens
Whether you’re interested in raising backyard chickens for food security, self-sufficiency, or just for fun, this big chicken starter guide will teach you what you need to get started. After all, the first steps into the world of raising backyard chickens can be overwhelming, especially if you don’t have any prior experience with livestock.
Experience or not, backyard chickens are easy! As long as you make sure to follow a few common sense rules, chickens are extremely low-maintenance animals. Plus, they provide a ton of entertainment, and they can even show affection and curiosity towards their owners.
If you’re ready to take the plunge and start raising backyard chickens – or even if you’re still on the fence – keep reading! This all-encompassing guide will give you an excellent idea of what you need to know, what you need to do, our personal tips and tricks, and other key things to remember.
Before You Begin: Selecting Your Chickens

A pair of Cuckoo Silkie chickens. Photo by Andy M.
Have you ever had a dream of adopting a specific breed of puppy, such as a Labrador or Golden Retriever? Like dogs, chickens also come in different breeds. Each breed was created to exhibit certain traits. In some chicken breeds, those traits are ornamental – i.e., just to look cool – but in others, they’re functional.
One of these ornamental traits is egg color. When you buy eggs from the grocery store, you generally choose between white and brown. Functionally and nutritionally, white and brown eggs are exactly the same – they just look a little different on the outside. Chickens can lay eggs in other colors, too, such as blue, green, cream, and chocolate, but you can’t find these unusual colors at most grocery stores.
Most chicken breeds differ in more ways than just egg or feather color. For example, some chickens have been selectively bred to produce better meat, to lay more eggs, or to grow special feathers. The eggs you get from the grocery store usually come from Leghorns, a breed created to lay lots of large, white eggs, but consume minimal feed. This makes them egg-cellent for egg-laying operations!
One of the most important ornamental differences between chickens is their size. Chicken breeds come in two sizes: standard and bantam. Standard chickens are the normal size you’d imagine for a chicken, while bantams are much smaller. Bantams are to chickens are what miniature and toy breeds are to dogs – most of them are around one-half to one-third the size of a standard chicken.
Some chicken breeds come in only standard or only bantam, not both. One of our favorite examples of this is the Olandsk Dwarf, a unique breed that originated in Sweden. It only comes in the bantam size.
Chickens come in tons of different colors, too, and tons of different feather patterns. The possibilities in chickens’ looks and personalities are basically endless!
Tip #1: Chicken Breed Nomenclature (How Chicken Names Work)

A Silver Spangled Appenzeller Spitzhauben.
You’ll generally see chicken breed written with the color variety before the breed name. For example, the picture in the previous section includes a pair of Cuckoo Silkies; Cuckoo is the name of the color pattern, while Silkie is the name of the breed. Silkies come in lots of colors, so you might encounter White Silkies, Black Silkies, Grey Silkies, and many others.
Sometimes, a chicken breed is precluded by both a pattern and a color. The chicken above, for example, is a Silver Spangled Appenzeller Spitzhauben. Appenzeller Spitzhauben is the name of the breed, Spangled is the name of the pattern, and Silver is the color of said pattern. Appenzeller Spitzhaubens can come in Gold Spangled as well as Buff Spangled, plain old Black (without the Spangled), and more.
If a chicken breed comes in both standard and bantam sizes, the name may include the size as well. However, you’ll generally only see this for the more uncommon variety of that breed. For example, you’ll see Brahma bantams (sometimes written as bantam Brahmas) available for sale at stores and online hatcheries, but you generally won’t see standard Brahmas – they’ll just be listed as Brahmas. That’s because the majority of Brahmas come in the standard size, so it’s assumed that they will be standard unless listed otherwise.
In the USA, the same goes for Silkies, which only officially come in the bantam size here. So, the vast majority of the Silkies you encounter will actually be Silkie bantams – even though people just call them Silkies.
However, these nomenclature rules may differ in other countries. For example, Silkie chickens commonly appear in the standard size in the UK and other European countries, so you might see them named differently.
Tip #2: The Best Chicken Breeds for Backyard Chicken Owners

An Easter Egger, one of the most popular breeds for backyard chicken owners. They generally lay blue or green eggs. Photo by David Keller.
Today, most backyard chicken owners choose standard-sized chicken breeds that lay plenty of eggs. Bantam chickens are wonderful for backyard flocks as well, but they lay fewer, smaller eggs and produce less meat.
Even though they’re less popular, bantam chickens can still be a fantastic choice for backyard flocks – and even for self-sufficiency. You can keep more of them in a small space, and they consume less feed because of their small size as well. Here at Little Onion Farm, we’ve found bantams much easier to process for meat, especially without dedicated equipment.
Many backyard chicken owners look for “dual-purpose” chicken breeds to raise. Dual-purpose describes chicken breeds that can be raised for both eggs and meat: dual-purpose roosters are large and meaty, but the hens still lay respectable amounts of eggs. Since you can utilize both the males and females of dual-purpose breeds, they make more sense for small farms and backyard chicken keepers, who might not have the space or time to maintain separate flocks for meat and eggs.
That’s another important thing you should consider: do you want a rooster in your flock, or would a flock of just hens work better? Roosters have lots of benefits and drawbacks, and it’s important to be aware of them before you commit. Plus, not all jurisdictions allow roosters, so you should always determine whether you can keep them (and what your backup plan will be if you get one by accident – that happens sometimes!) before you establish your flock.
Here’s a list of some of the most popular chicken breeds among backyard chicken owners today, with a few of our favorites added in:
- Orpingtons
- Australorps
- Wyandottes
- Marans
- Ameraucanas
- Easter Eggers
- Delawares
- Rhode Island Reds
- Leghorns
- Silkies*
- Production Hybrids**
*Silkies are a little different from the other breeds listed above. They’re not the best egg layers, but they’re widely regarded as the friendliest of all chicken breeds. Having a Silkie or two on your farm is a great idea if you plan to hatch your own eggs, since Silkies make some of the best broody hens.
**Production Hybrids (also called commercial hybrids, industrial hybrids, or just hybrids) can be confusing for first-time chicken owners, since different stores and hatcheries sell them under many different names. For the purpose of this guide, a “production hybrid” is a cross-bred chicken that does not breed true and that was created for a specific purpose, such as increased meat production, special egg colors, better egg laying ability, or sexability/sex-linkage at hatch. The Cornish Cross (also known as Cornish X, Jumbo Cornish, or Broiler) – the most popular meat-producing chicken breed in the United States – is a hybrid cross between the Cornish and Plymouth Rock breeds.
Some of the most popular production hybrids today use clever feather color genetics to make the males and females hatch out in different colors (this is what ”sex-linkage” means – the ability to discern males chicks from females as soon as they hatch from the egg). This makes it easy for hatcheries to sell guaranteed males and guaranteed females to their customers. It also makes them great for backyard chicken owners who cannot keep a rooster with their flock, since it eliminates the chance of raising an “accidental” rooster. Pretty much every hatchery carries their own special hybrid mixes, and these hybrids may be trademarked by the hatchery in question as well.
Recently, special colored laying hybrids have skyrocketed in popularity, too. Breeds like the Starlight Green Egger, Midnight Majesty Marans, Bountiful Blue Layer, and Olive Egger are all colored-egg-laying hybrids. Most of them fulfill the need for a colored egg basket while incorporating sex linkage to make sexing at hatch much easier.
Tip #3: Where Should I Buy Chickens?
With raising backyard chickens as popular as it is today, you can source the beginnings of your flock from pretty much anywhere. We have our own opinions on the best places to get your first chickens, though – we’ve been there quite a few times, and like to think we have a good amount of expertise!
We’ve shopped at many different chicken hatcheries, and we’ve purchased plenty of chickens directly from other backyard bird owners as well. However, for the beginner chicken keeper, we believe that purchasing your first birds directly from a hatchery is the best way to go. The two hatcheries that we recommend most – and we have bought chickens from both businesses – are My Pet Chicken and Cackle Hatchery. My Pet Chicken is the superior option for small flock owners who want around ten chickens or less, while Cackle Hatchery is great for those who want to build a larger flock.
Purchasing from a hatchery is generally more expensive than buying locally or from a breeder, but it lets you select exactly which breeds and varieties you want (and often which genders you want, too), which may not be possible from a small flock owner.
Of course, if you have a local farm that’s large enough to have its own hatchery operation, you should absolutely support them – especially if they give you the option to vaccinate your baby chicks for Marek’s disease. We don’t recommend getting your first chickens from a livestock swap or other backyard flock owner for this specific reason.
Virtually all large hatcheries give you the option of vaccinating your baby chicks, and we consider this a huge point in their favor. Immunizations in general tend to be a bit of a contentious topic, and if you choose not to have your chickens vaccinated, that is totally fine – the choice is up to you! We’ll go into why we think Marek’s vaccination is so important in the Biosecurity section of this post.
One notable exception to the above rule is if you choose to hatch eggs yourself. Very few chicken diseases pass from the mother chicken to the baby in the egg, so you generally don’t need to worry about cross-contamination or disease transmission. Your chickens will not be vaccinated, so they may still be susceptible to Marek’s and other diseases later in life, but as long as you’re careful not to expose them to other people’s chickens, the chance of them contracting these diseases is small.
We usually don’t recommend that beginners start their first flock from hatching eggs. A good incubator can be expensive, and you have enough to worry about with building a coop, caring for your new babies, and other things without adding even more responsibility.
What Kind of Chicken Coop Do I Need?
Your chicken coop is arguably the most important part of raising backyard chickens, aside from the chickens themselves! The safety and long-term health of your chickens depends entirely on the coop you provide for them. They need to be protected from predators and adverse weather, but at the same time, they need access to fresh air, food, and water. Plus, each chicken needs adequate space to thrive – an unhappy chicken doesn’t lay good eggs or produce good meat!
We recommend that you incorporate several things into your coop: a human-accessible entrance (for easy cleaning), nesting boxes, and roosts. In the wild, chickens (and their ancestors) liked to sleep in trees, so most domestic chicken breeds like to sleep on a roost. This keeps them feeling safe, and in some cases, can help keep them safe from predators.
Even with all those requirements, there are tons of chicken coops on the market that can fulfill your chickens’ needs! It may be hard to sift through them all at first and decide which one is best for you. To help narrow down your choices, we recommend asking yourself these questions:
- Do I want my chicken coop to stay in one place, or do I want to move it around to fresh grass?
- Will I free range my chickens, or will they have a permanent run (or possibly both)?
- How often do I want to clean my chicken coop? How much of it do I want to clean?
- How many chickens do I want in my flock?
- How much space do I have for a coop?
- Do I need to worry about curb appeal/bothering my neighbors?
- What kinds of weather will my chickens experience throughout the year?
- What kinds of predators do I need to worry about in my area?
- Do I have the carpentry skills and time to build my own coop?
- Do I have the money to buy a ready-made coop?
We always urge newbie chicken owners to do online research and get an idea of the coop configuration that’s best for their unique situation. However, that doesn’t mean we don’t have our own list of recommendations that might help!
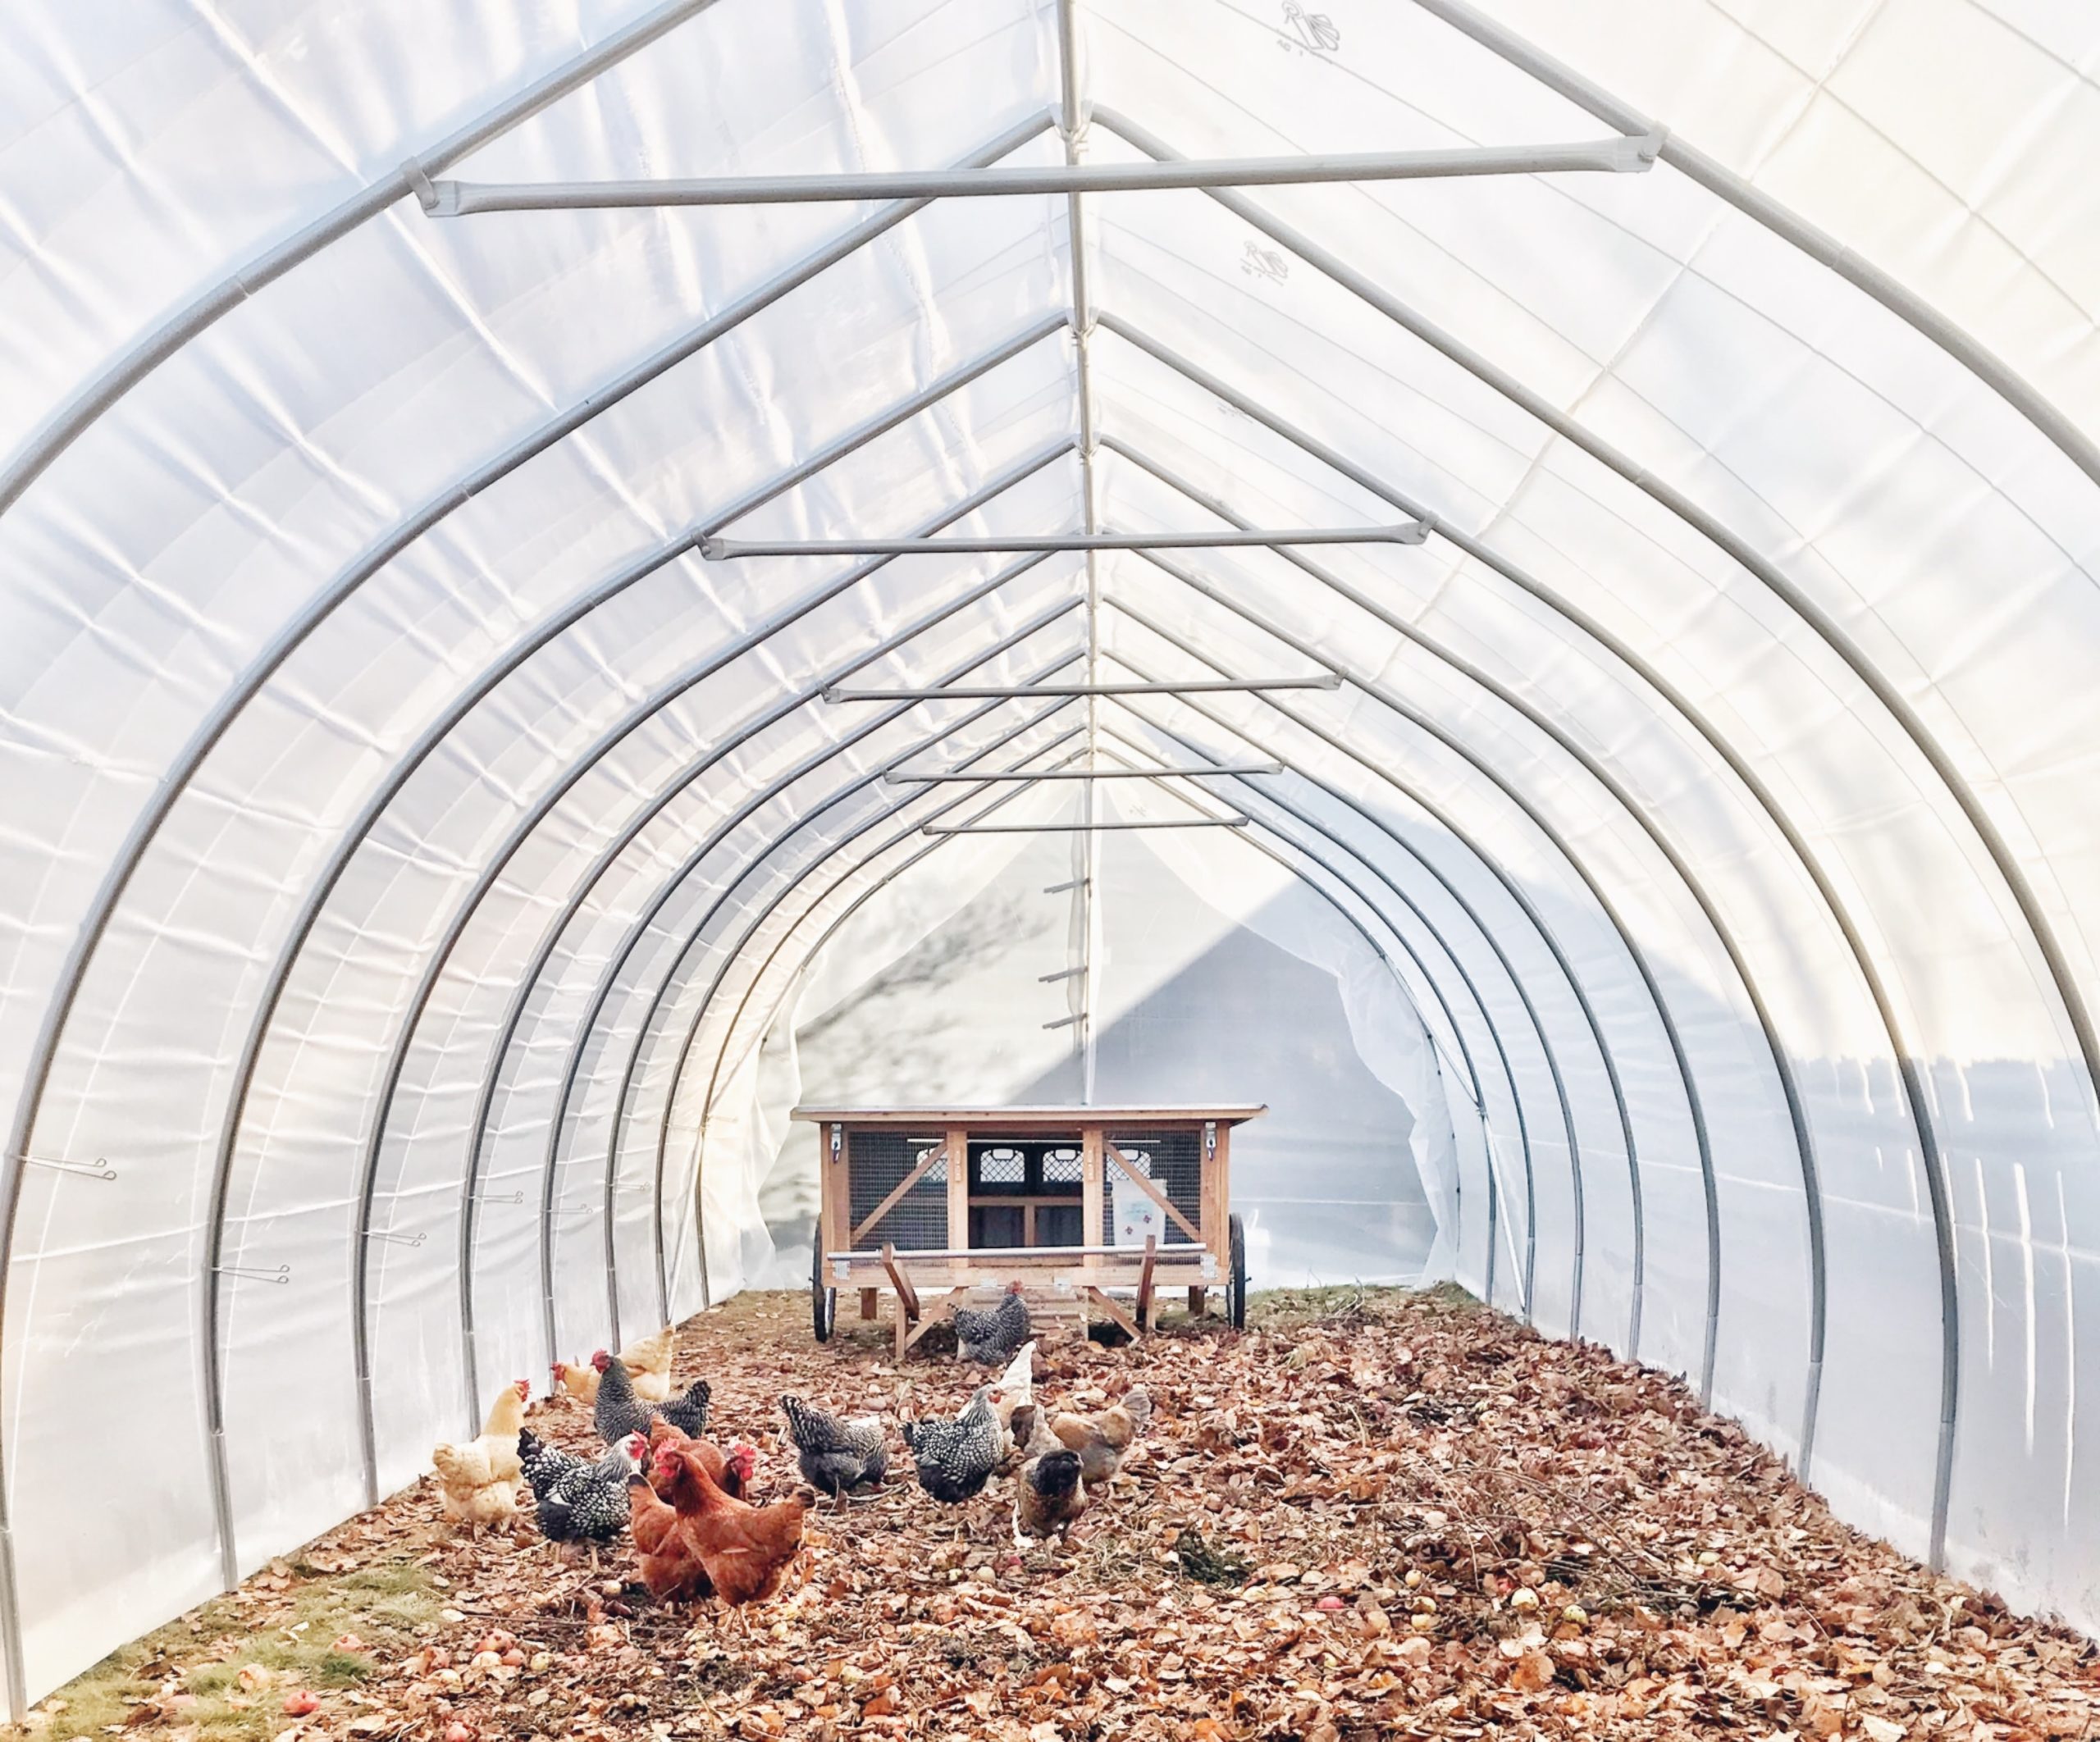
#1: Chicken tractors, or mobile coops that can be moved to fresh grass regularly, require much less cleaning than stationary chicken coops, but they have diminishing returns in size (a larger, heavier coop is more difficult to move around). If you want to have lots of chickens and also use chicken tractors, you may need more than one coop.
#2: Never keep your chickens in any structure without a run 24/7. At the very least, they should have some kind of fenced area for fresh air and enrichment. Shed-style coops with no air exchange are unhealthy, and they are only acceptable if you plan to free-range your chickens for a significant portion of the day.
#3: Always buy a larger chicken coop than you need (chicken math is a real thing!)
#4: Fresh air during warm days is more important than insulation on cold days. An insulated shelter is a good idea for those who live in very cold areas (such as Canada and the northernmost US states), but as long as chickens have shelter from the wind, rain, and snow, they can thrive without insulation or supplementary heat in most areas. However, chickens can die quickly in hot weather without fresh air, shade, and clean water.
I’ve tried my hand both at purchasing chicken coops and building homemade from scratch. In the end, the conclusion I’ve come to is this: building my own coops saves a ton of money, and the results are functional and really don’t look half bad! However, I am by no means a professional carpenter or builder, so those made by the pros tend to be significantly better than mine.
Out of all the options on the market today, my very favorite line of chicken coops for backyard chicken owners comes from Omlet – and it’s the coop I use for my own flock. Omlet’s coops are incredibly easy to clean, mobile, tough against predators, and they have some of the best curb appeal of any coop I’ve seen! While they do cost a lot more than I’ve spent building my own coops in the past, they’re worth it because they’re just so dang nice.
Omlet coops are made by a small business based in the UK, and they’re fully recyclable when they reach the end of their lifetime. Their Eglu coops come in a few sizes: the Eglu Go for a very small flock, the Eglu Go UP for small to medium flocks, and the Eglu Cube for medium to large flocks. (I do have a terminal case of Chicken Math, so the Cube is, of course, my favorite.) The coops are somewhat modular, and you can attach multiple coops to a large walk-in run for communal pasture-ranging. I highly recommend taking a look at what they have to offer!
– End of Sponsored Ad –
To Build or to Buy: Which Coop Is Best for Me?
If you have the tools and the chops to build your own chicken coop, you can save a lot of money over buying one new. However, with the cost of lumber and other materials so high as of late, it’s also possible to far exceed the cost of a ready-built! It’s all about how creative you are with your materials, the complexity of the end result, and your skills as a builder.
If you have the time and energy, we do recommend giving building your own chicken coop a try, even if you don’t have much prior experience. Unlike with human homes, your chicken coop doesn’t need to be perfect – as long as it’s not going to fall over, it doesn’t matter if it’s fancy or pretty. Of course, a pretty coop is the goal for a lot of us, but affordability is important, too! Your coop is often the biggest slice of your chicken-keeping-costs-pie, so keeping that slice small can make a huge difference.
The main things we recommend keeping in mind during the building process are airflow, security, shelter, and accessibility. Airflow is incredibly important for the long-term health and happiness of your chickens. Good airflow promotes good respiratory health, keeps parasites and pests to a minimum, and helps keep the smell down, too. The more airflow your coop has, the faster your chickens’ droppings will dry out and decompose. This can even mean less frequent cleanings, depending on your coop design.
However, you have to balance airflow with security. It’s all well and good to have a run made entirely of chain link or chicken wire, but if predators can get in, that extra airflow won’t do your chickens any good. Here at Little Onion Farm, we find that an open-air coop is perfect for most of the year.
Our main coop is an Omlet Eglu Cube with a 13-foot run. Our bantam flock shares the coop with minimal squabbles, and we move them to a new patch of grass about once per week (sometimes more depending on weather.)
We’ve tried many different coops here at the farm, some of which we’ve built and some we’ve bought. The two types of coop we’ve had the most success with are the following:
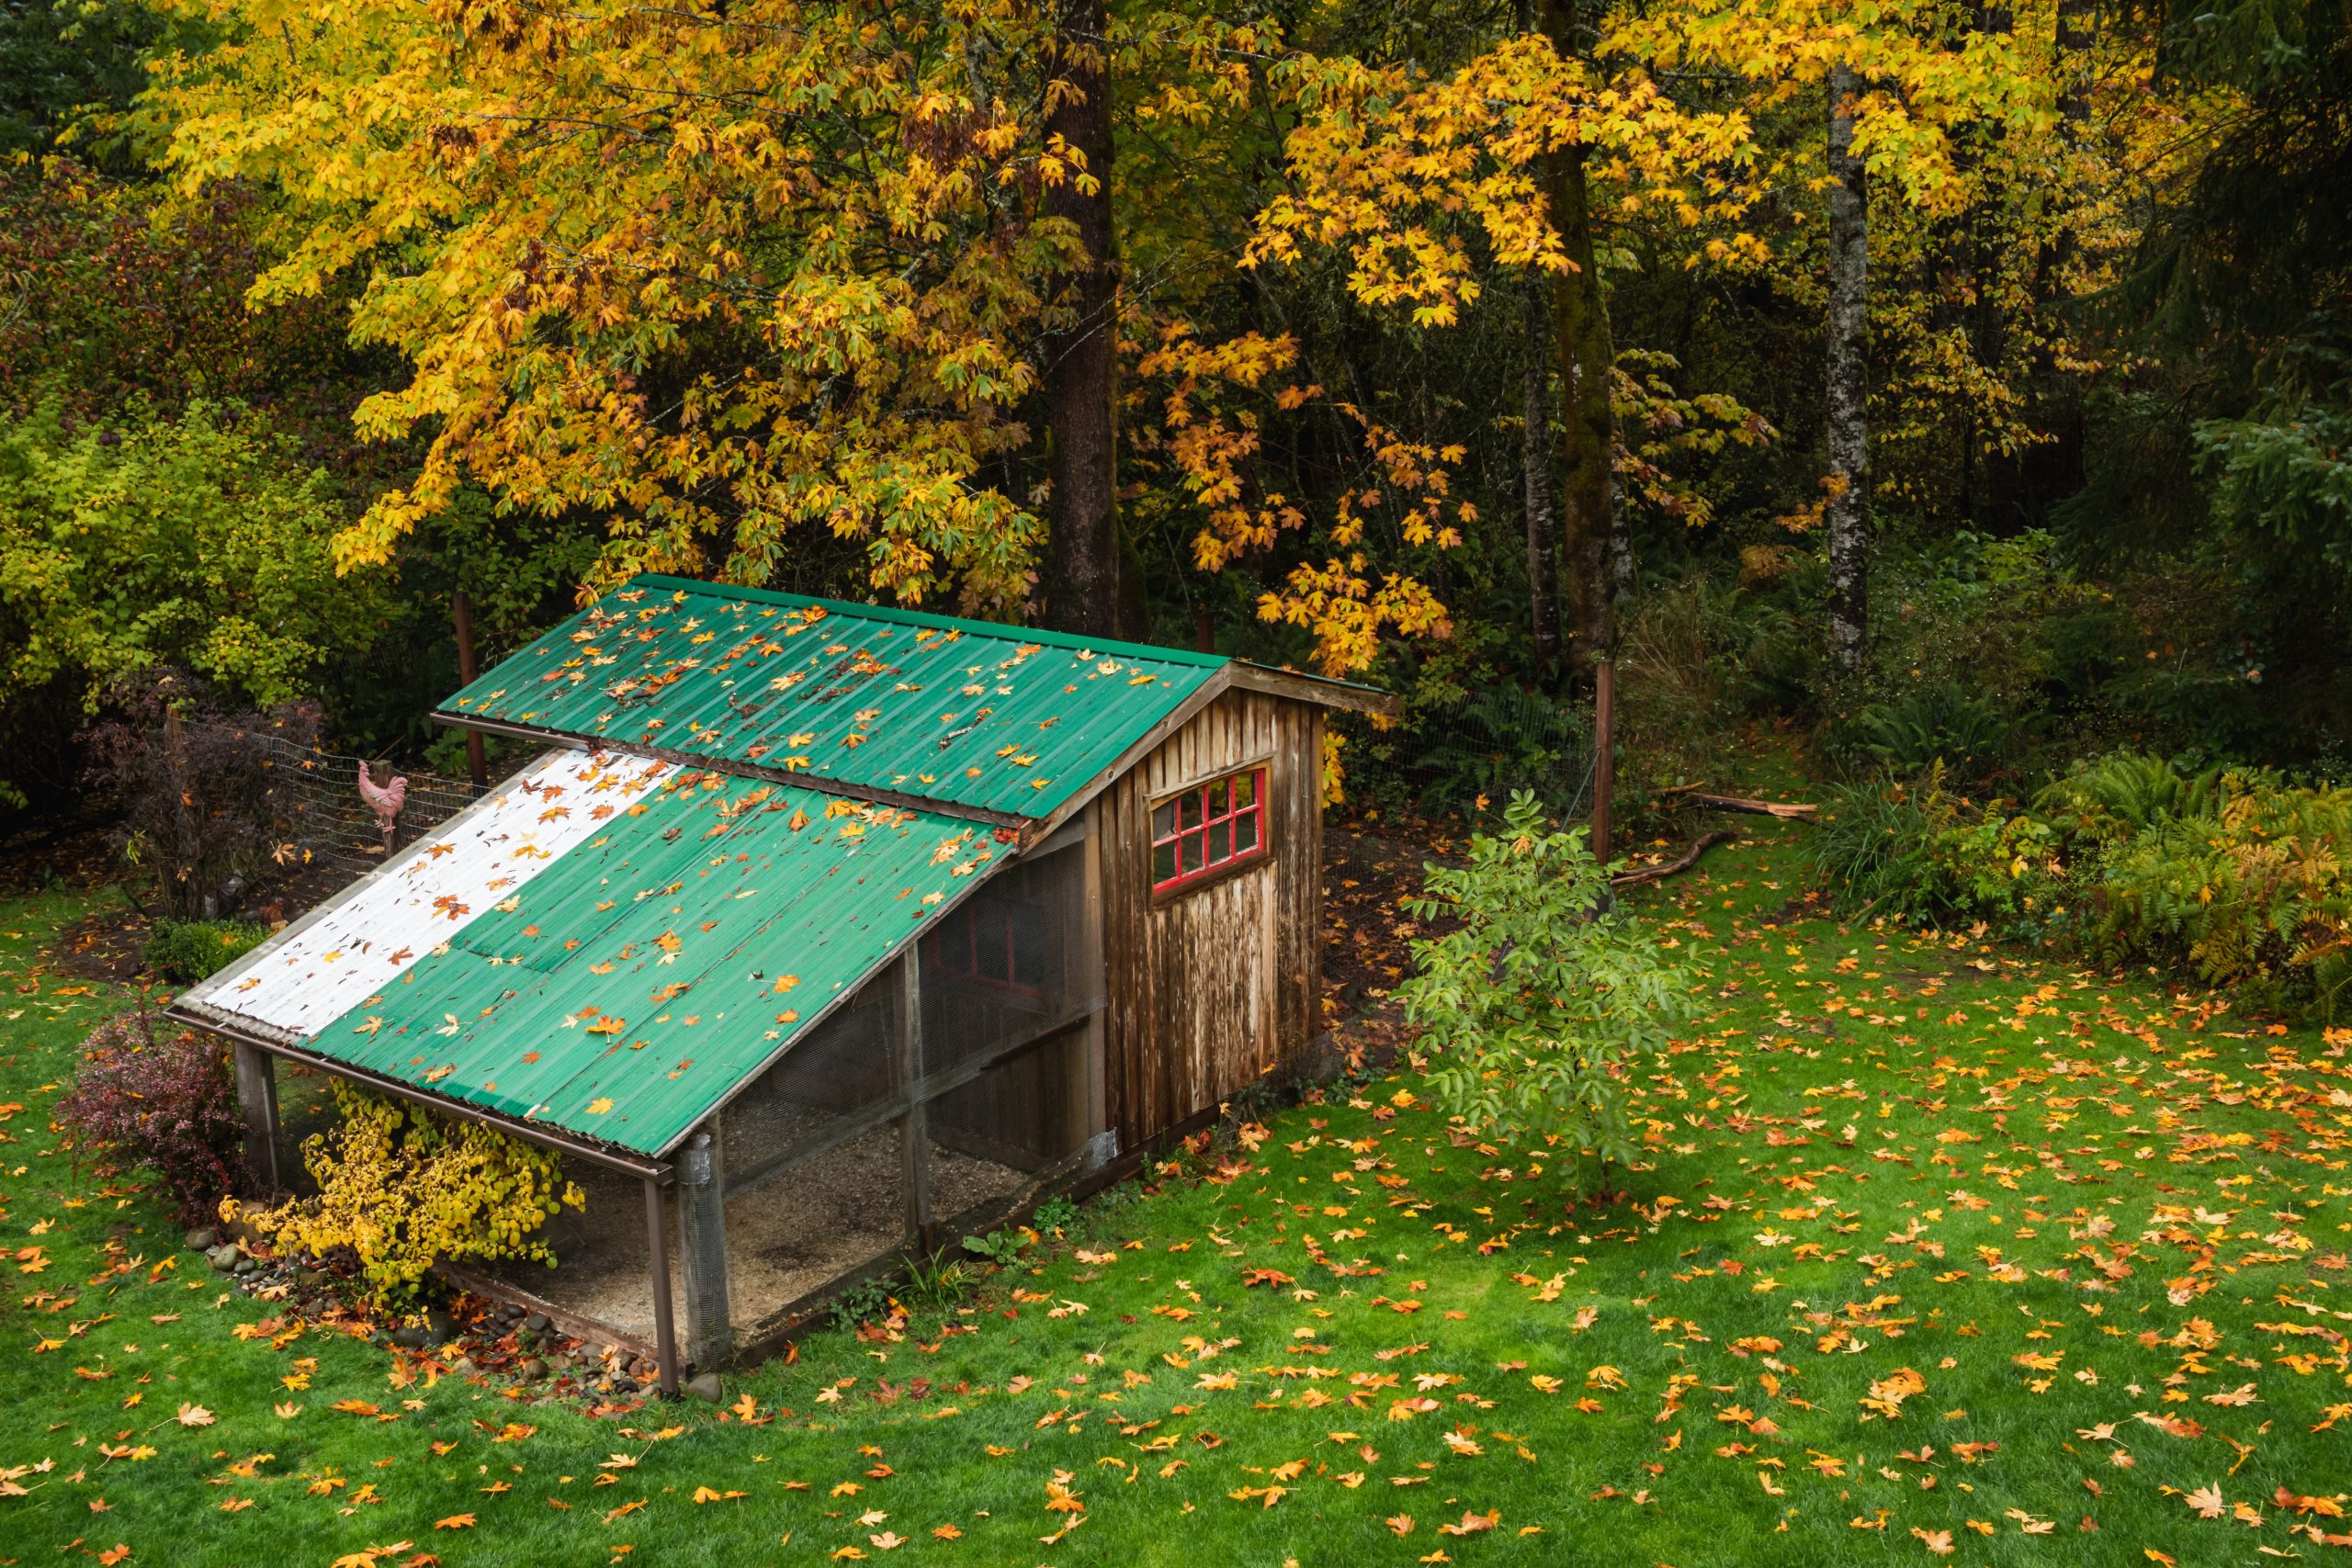
1: Coops with at least one permanently “open” side that allows air to constantly flow through the coop, and also has a roof that provides shelter from the elements. An A-frame coop, which you can see at the beginning of the next section, is a great example of this (and we did build that one ourselves).
2: Coops with a confined area for the chickens to sleep and take shelter from the elements that’s permanently attached to a run. The Eglu Cube is a fantastic example of this type of design.
If you’re going to keep your chicken coops mostly open to the air, we recommend investing in a strong chicken wire alternative. While the amount of protection your flock needs can vary, it is always better to provide too much protection rather than too little. We recommend metal hardware cloth with squares smaller than an inch. We also like hardware cloth with some kind of rubberized or plastic coating, if available, as this helps protect it from deterioration and gives more visual interest. Yes, metal hardware cloth is expensive, and you might feel tempted to buy the plastic version or a cheaper, thinner wire, but the extra expense is worth it. (Ask us how we know.)
Finally, make sure the coop you build or buy is easy for you to access for cleaning and egg collecting. An outside access point makes this even more convenient. Trust us on this one!
Tip #4: Do I Need Chicken Coop Building Plans?

Every time we’ve built a chicken coop from scratch, we did it by finding inspiration on the internet. We never downloaded or followed specific building plans to build ours, but if you’d feel most comfortable doing so, there’s a wealth of them available out there (both free and paid). Using a professional plan or blueprint is helpful if your style is Type-A and by-the-book. However, if you want good-quality blueprints or a comprehensive supplies list, you may need to pay extra for them.
We don’t have a great resource for online chicken blueprints that are worth their cost, but we’d advise staying away from any “1000 Plans for $19.95″ deals that you might find online. More often than not, these plan compilations plagiarize other people’s work or just group a bunch of free plans together and charge for them.
If you do want to try following a professional blueprint, try browsing websites like Etsy and eBay. These sites have strong buyer protections in case you don’t get a satisfactory product, and you’re more likely to buy directly from the blueprint’s creator, too.
Even if you do decide to follow a blueprint, try to get a bit creative with your build if you can! A quick Google search can show you just how many fun and crazy chicken coops exist out there today – and how many ways exist to reduce your build cost, too.
How to Raise Chickens: Life Stages and Requirements
Chickens have different needs throughout their stages of life. As young chicks, they need watchful, hands-on care, whereas once they reach the juvenile stage, they pretty much thrive on their own. However, it takes a while for them to move from one stage to the next. In this section, we’ll show you how their needs change as they grow, and point out a few key things to keep in mind at each stage.
Tip #5: Keeping Baby Chicks Alive
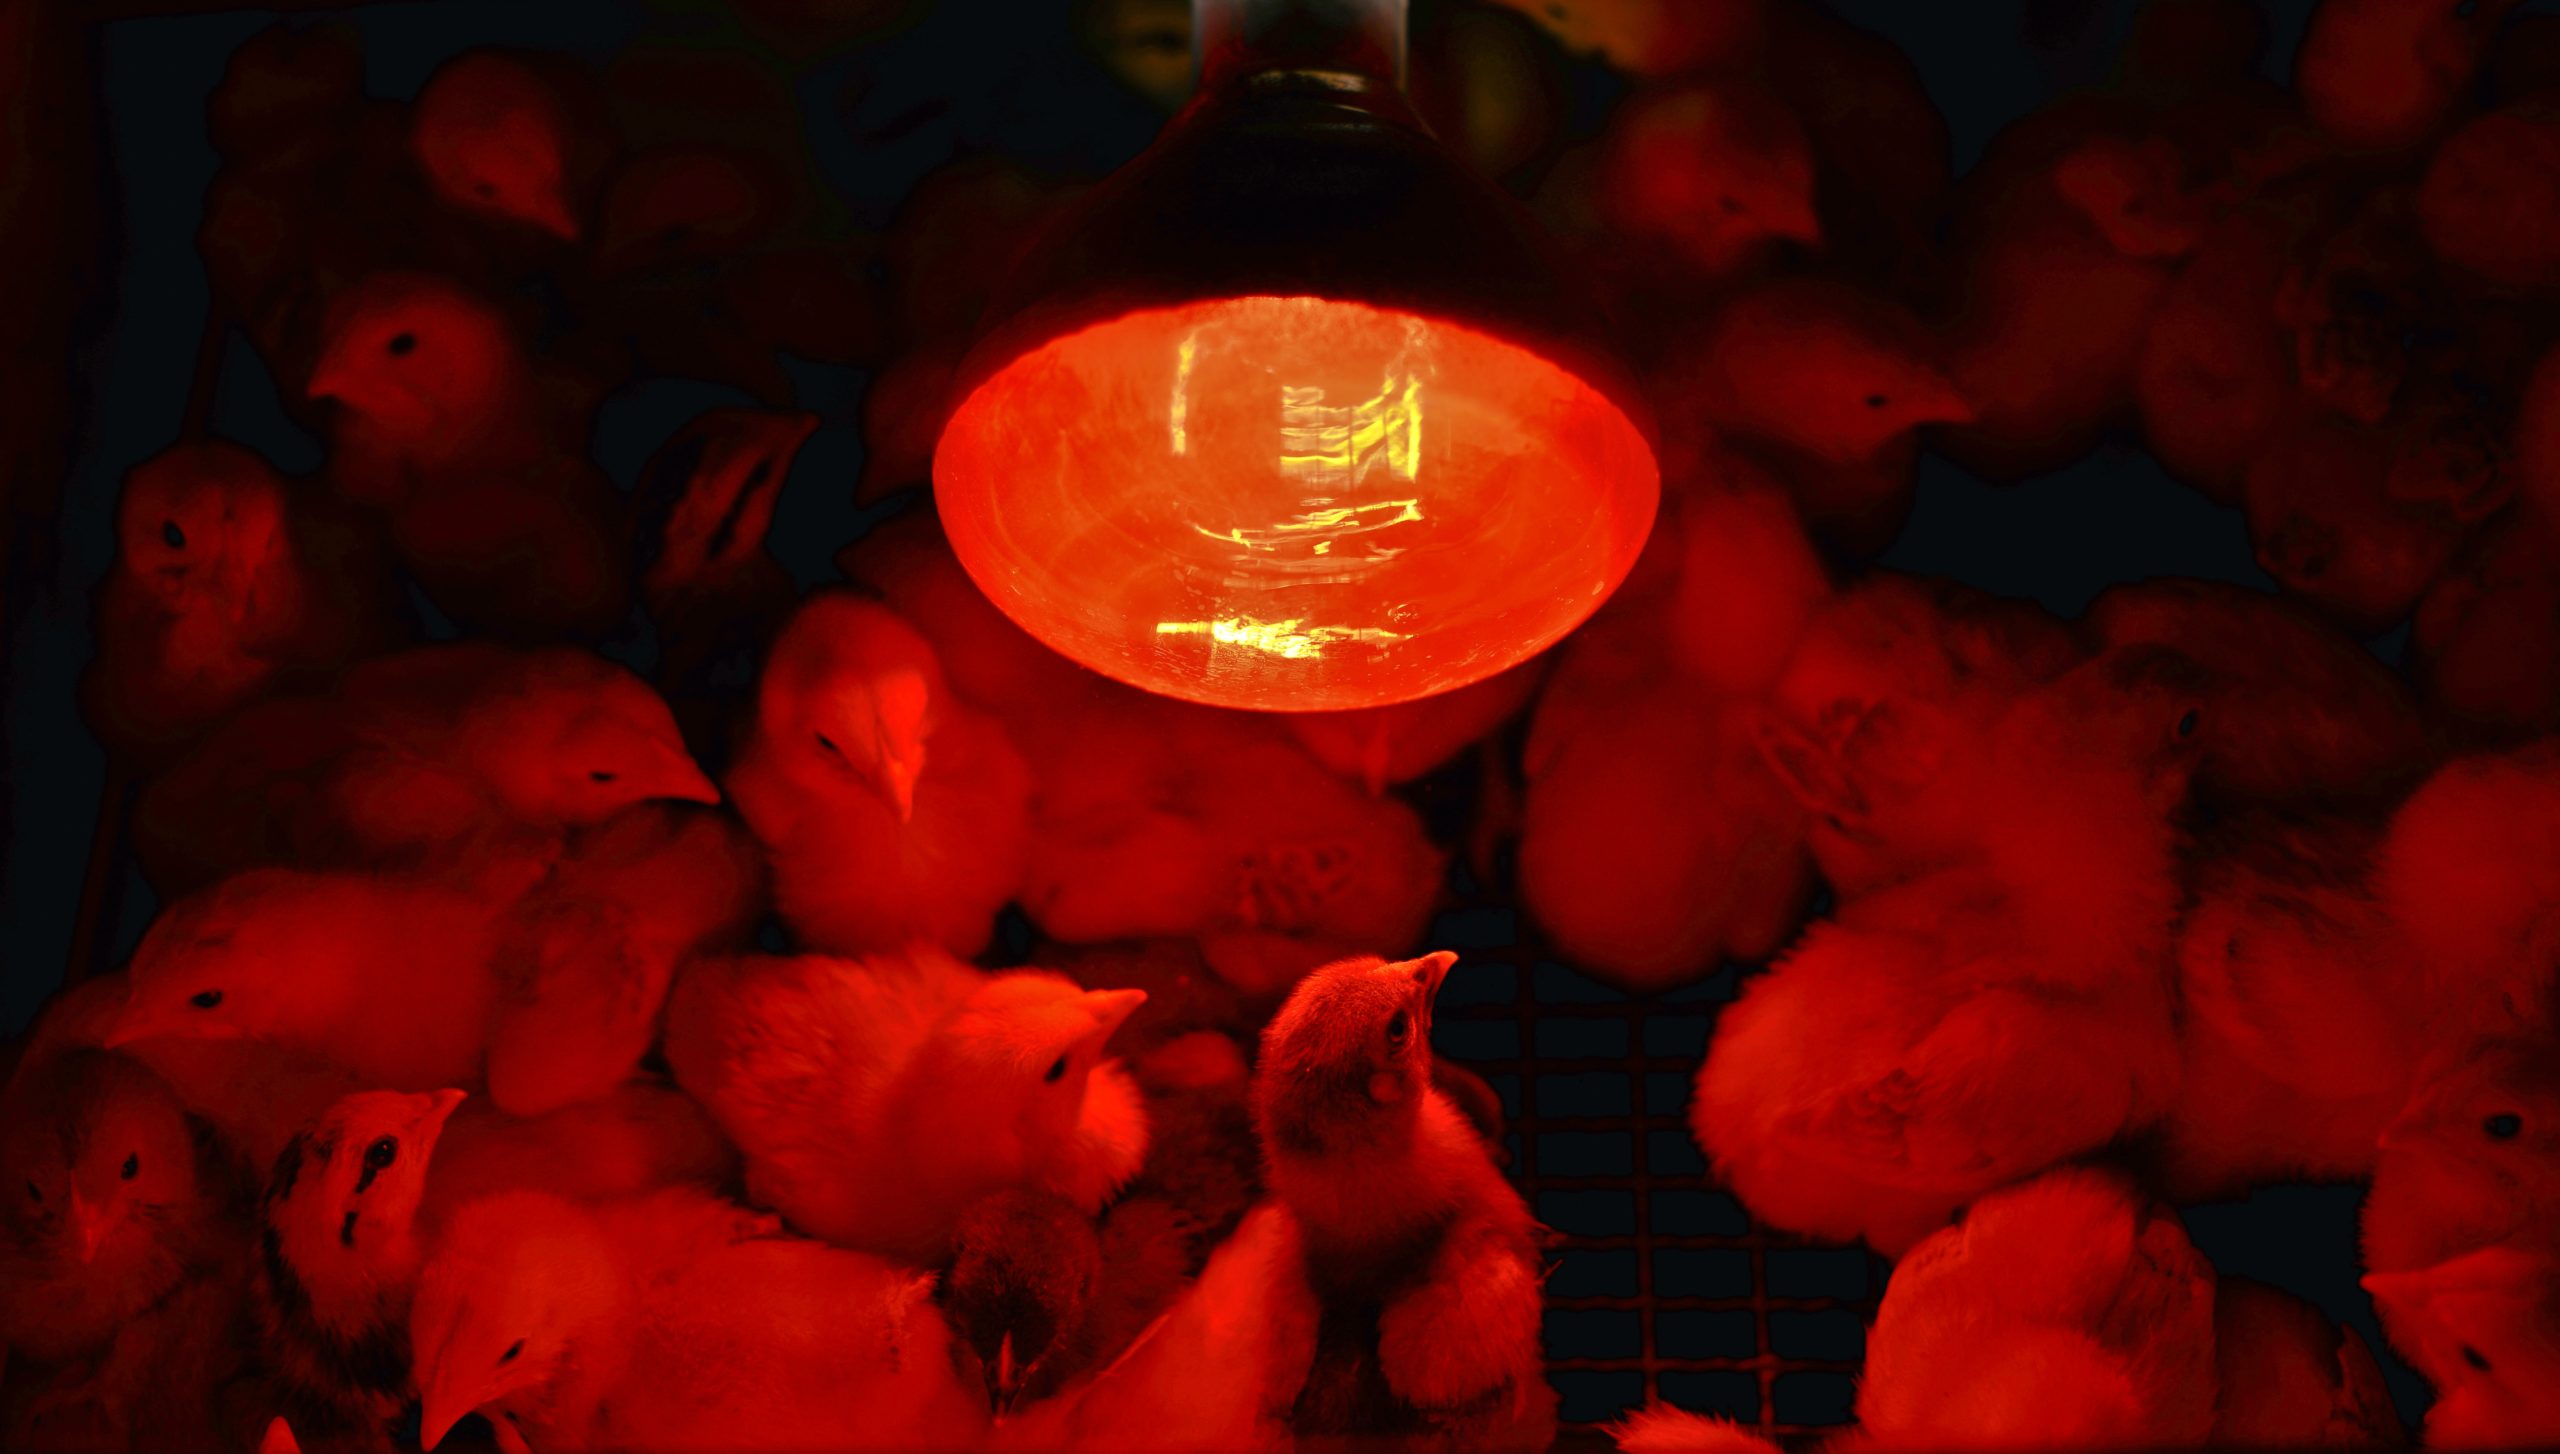
Unless you’ve purchased adult or juvenile chickens, your first step in raising backyard chickens will be preparing a suitable brooder. In the farming world, a “brooder” refers to a special enclosure designed to help young animals grow and thrive in their most favorable conditions. For chickens and other poultry, you’ll want a heat lamp or heating plate, chick-safe feeders and waterers, soft bedding, baby chick food (chick starter or starter/grower), and a secure enclosure.
When your baby chicks first arrive, your enclosure should be right around 99 degrees Fahrenheit (~37 degrees Celsius). If you have a heat lamp, you may need to try a few different positions or heights until the main area of your enclosure reaches the proper temperature. If you use a heating plate designed for young chicks, the temperature will self-regulate.
Make sure the enclosure you use is not prone to heat damage. For example, plastic storage totes – a popular brooding option that work fine with heating plates – aren’t safe to use with infrared heat lamps, since the plastic can melt when exposed to high temperatures. (The red bulb in the photo at the beginning of this section is an infrared heat lamp.)
We’d never recommend using an infrared heat lamp at all if you have another option. They present a constant fire hazard. You might think you’d never let a fire happen, but trust us on this one: they’re unsafe for long-term use.
On a related note, high-heat infrared bulbs can also overheat your chickens very quickly. Chick plates are wonderful and safe, but on the whole, they tend to be a lot pricier than a good ole’ brooder lamp. Many people default to a traditional brooder lamp because of its low cost, but don’t be fooled by this false dichotomy – there are lots of other options!
We like to use ceramic heat emitters, or terrarium heat lamps, which are traditionally made for heating reptile enclosures. They’re much safer than heat bulbs since they stay at a lower temperature, and they fit into the same lamp you’d use with a red heat bulb – which you can buy right at your local farm store. Plus, they’re cheap! Make sure you select one that’s compatible with your heat lamp, and if you use it constantly, make sure to check it occasionally to make sure it’s still working. The one we linked above changes color when it’s in use, making it easier to determine whether it’s working or not.
Our biggest tip for keeping your chick brooder the proper temperature is to use a long enclosure, and keep the heat source at one end. By keeping the heat source at just one end, your baby chicks can move closer to the heat when they’re cold and go further away when they get too warm.
If you keep the entire enclosure the same temperature by putting your heat source in the center, your chicks may have trouble thermoregulating. This temperature range helps as your chicks mature into their awkward juvenile stage, too! If your enclosure is big enough to begin with, you won’t have to move them to a larger one or adjust the heat lamp as they get older.
Once you have all this set up, raising young chicks is very easy! Keep an eye on them for pasty butt when they’re young, adjust your heat source if they seem too hot or cold, and check on them a few times a day for any signs of lethargy. Your chickens will huddle together under the heat source if they’re cold, but they’ll spread out and avoid it as much as possible if they’re too hot. As long as they have plenty of room to move closer or further away as necessary, they will find the perfect area to regulate their own temperatures.
We like to add a special nutrient additive called NutriDrench to our baby chicks’ water during their first few days of life, too. NutriDrench is a liquid supplement packed full of the nutrients your chickens need to thrive. It can help them get on their feet during their first week or two of life, especially after the stress of shipping.
Finally, if you want friendly chickens when they get older, we recommend handling your young chicks at least once per day and getting them used to your presence. If you choose not to socialize your young chicks, that’s totally fine, too – many people opt to leave their chickens unsocialized, to prevent bonding with them if they intend to process them later.
In our experience, while it is possible to “tame” an adult chicken when it’s older, you’ll never get the same result as you would with young chicks. When they imprint on you and associate you with safety as youngsters, they carry that into adulthood and beyond, even if you don’t spend time with them for a while.
Tip #6: Transitioning Juvenile Chickens to the Outdoors
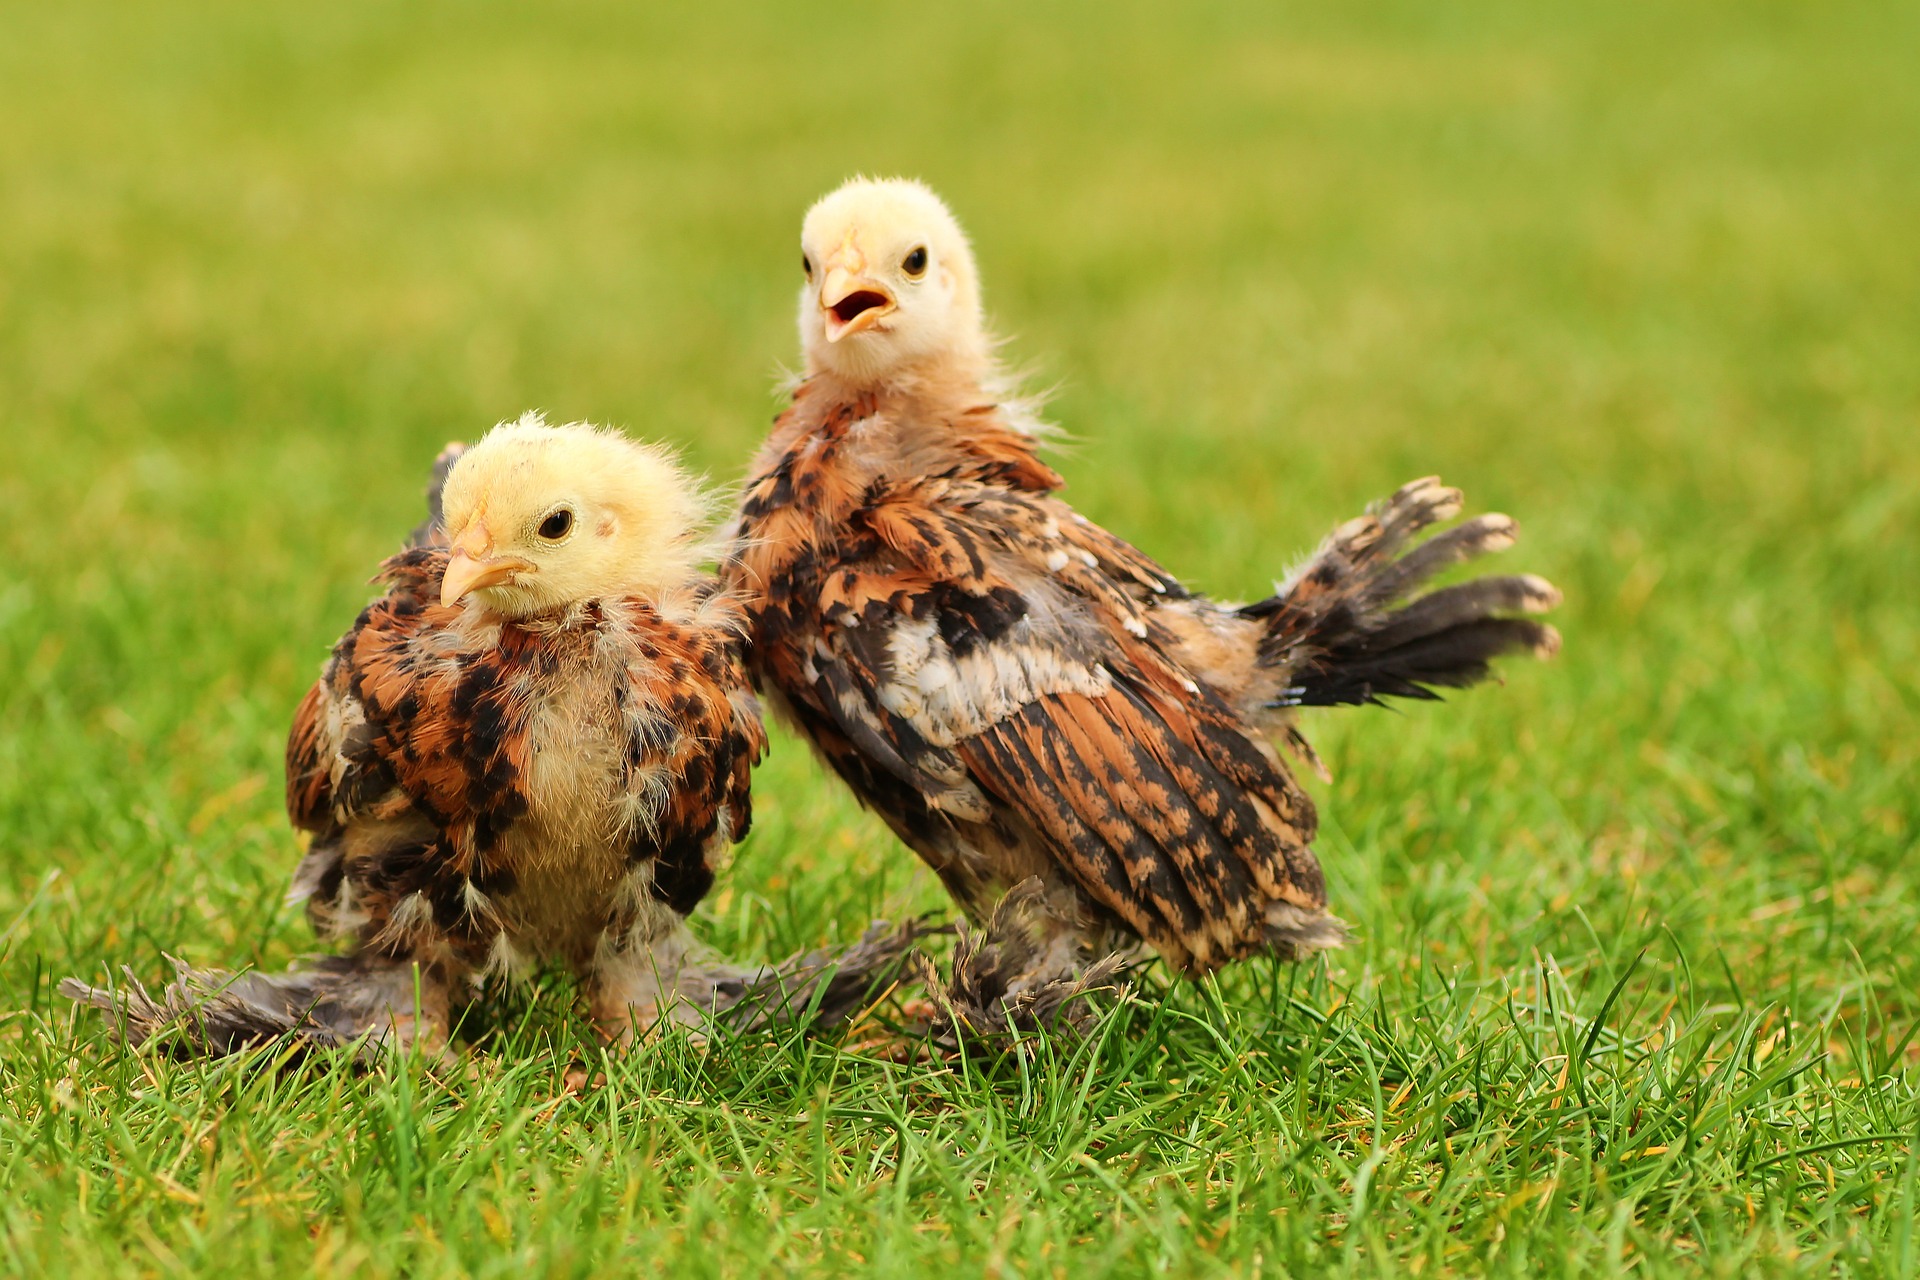
Once your chicks have lost the majority of their chick down, they’re mature enough to start living outdoors (depending on the season, of course). If the weather is cool, make sure you acclimate them to it slowly by letting them out for a few hours at a time over a week or two. If you live in a warm climate or it’s summer where you live, your chicks can live outdoors right away. If it’s wintertime, you might want to wait until your chicks grow a bit larger and acclimate them to it slowly.
Even after after moving your chicks outdoors permanently, make sure to keep an eye on their sleeping area. In our experience, juveniles don’t know the safest places to sleep right away. Even with roosts to sleep on, they like to try to sleep on the coop floor for the first few days. They especially like to pile up together and sleep in corners.
We go out after dark and manually move them to their roosts until they start sleeping there of their own accord. Chickens are at their most vulnerable while they sleep, and if they decide to sleep right next to a fence – which they really like to do – a predator can reach through and possibly harm or scare them. (This is part of why hardware cloth is so important, too!) Once they associate their roosts with sleeping, you won’t have to do this anymore – they’ll start putting themselves to bed there on their own.
(Note: some chicken breeds – especially Silkies and Polish – can have trouble reaching perches on their own. If yours do, you may need to create an easier way for them to reach their perch or provide a safe area for them to sleep at ground level.)
Most chick feeds are designed to work all through the juvenile life stage. However, if your chick feed is just starter, not starter/grower, you may need to switch them to a grower feed at some point. The back of the feed bag should tell you exactly when to switch.
One last thing to consider during the juvenile stage is that this is the last good time to add more chickens to your flock. Young chicks are the most accepting, but even juveniles tend to lack the territorial behavior that adults chickens have. As such, if you do suffer from chicken math, the juvenile stage is the time to add more – before they get their pecking order established. Yes, you can absolutely add more later when they’re adults, but the introduction process will be longer and potentially more dramatic.
Caring For Adult Chickens
Chickens tend to be extremely low-maintenance pets overall. However, we have a few rules you should follow as they mature into adults in order to provide them with the best possible care.
Tip #7: Biosecurity
The first and most important rule of backyard chickens is biosecurity. We chicken owners tend to get excited about expanding our flocks. Here at the Farm, there have been lots of times where we’ve been tempted to adopt adult birds, but it’s usually not a good idea. We urge you to exercise caution if you do this.
Many chicken diseases aren’t easily identifiable until a chicken passes away, so even if a chicken you want looks entirely healthy, they may still be carrying something that could spread to the rest of your flock.
There are two excellent ways to counter this risk: one, by buying hatching eggs, since few chicken diseases pass through the egg; and two, by purchasing chicks from a large hatchery, since they can vaccinate your chicks against some of the most common poultry diseases.
Another thing you can do, if you absolutely must, is quarantine new chickens for a month or two before adding them to your flock. However, while this may help isolate some disease symptoms, please keep in mind that it will neither cure nor reveal all sicknesses. Marek’s disease, for example, which is highly contagious between chickens, can present virtually no symptoms for weeks, months, or years at a time. Any chicken infected will continue to carry and spread the disease for the rest of its life.
If you only want to keep a closed flock for pleasure, you don’t need to be quite so cautious about disease transmission. However, if you ever want to sell or rehome chicks, eggs, or adult birds, please exercise caution so that you don’t end up infecting others’ flocks.
Tip #8: General Health and Wellness
While your chickens’ everyday health and wellness is related to biosecurity, it’s not always the same thing. Chickens can also contract diseases and parasites from wild birds and the world around them.
Parasites are a great example of this. If you raise backyard chickens, the chances are high that they will contract lice, mites, fleas, or worms at some point during their lifetime, through no fault of your own.
The best way to keep your chickens healthy is to react swiftly to these issues when they happen – and this means keeping a watchful eye on their health. When a chicken is sick, it will usually manifest symptoms that you can identify if you’re paying attention. Chickens with lice or mite issues will often lose weight, lose color in their skin, or even shed feathers (though feather shedding can be due to molting as well – which is totally normal and happens every year, sometimes more than once).
If you notice strange behavior from your chickens, give them a thorough once-over to check for anything that shouldn’t be there. Does your chicken feel too skinny when you feel its belly? Are its feathers dull or patchy? Are its eyes bright, or are they dull and unfocused? Is it able to stand on its own, or does it seem unsteady? Are its egg shells strong and well-formed? Does it have strange debris or creepy-crawlies near its vent? Does its poo look strange?
Not everything out of the ordinary means something is going on, but you can never be too careful. Weak egg shells tend to be a sign of low calcium in your chickens’ diet, for example. Weak egg shells can also be a sign of nutrient deficiency from other sources, such as parasites, but some hens just lay a lot of weird eggs. It might not be a sign of any deeper problems at all! If you do have a hen that lays weak or otherwise strange eggs, it’s important to rule out any bad possibilities before you assume it’s just one of her quirks, though.
Speaking of health and wellness, as your chickens reach their adult size and have new adult needs, it’s time to start feeding them differently. If you only have hens in your flock, you can begin giving them layer feed at around six months of age. However, if you keep a mixed flock of both hens and roosters, or if you keep multiple species of poultry in one coop (i.e. ducks, turkeys, quail, etc.), it may be better to give them a general-purpose flock raiser-type feed.
Why shouldn’t you feed your mixed flock layer feed? We plan to go into this in more detail in a future post, but in short, layer feed contains lots of extra calcium to help keep your hens (and their eggs) strong and healthy. However, this extra calcium can actually be harmful to roosters (which don’t lay eggs, and thus, don’t need the extra calcium). You can leave out crushed oyster shells and other calcium supplements alongside flock raiser feed to keep your hens healthy, but you can’t remove the extra calcium from layer feed to keep your roosters healthy.
Tip #9: Perfecting Your Daily Routine
While you don’t necessarily need to go through your “daily” routine every single day, you should have a basic idea of what care your chickens need on a regular basis. For example, if you free range your chickens, you should be letting them out of your coop every morning, then closing them back inside at dusk. If you fail to close them in at night, they become an easy target for predators.
Your chickens need feed and water to thrive. Your feeders and waterers should be large enough that you don’t need to fill them every single day, but small enough that they don’t go rancid before you need to refill. Our rule of thumb is that every two to three days is good, as long as you wash your feeders and waters regularly. A maximum time of three days gives enough time to take a trip out of town for the weekend, but their water doesn’t have enough time to get gross, either.
You should also inspect your chicken coop for predator signs on a regular basis. If you have a predator in your area that’s caught wind of your flock, there will be signs, such as dirt paths worn around the perimeter of your coop, broken or dented wire, holes in the dirt where they attempt to get underneath, etc. Catching these signs early is the best way to prevent the worst, as it gives you time to shore up any weaknesses that the predator has been testing.
Finally, make sure you clean out your chicken coop – especially any enclosed area where fresh bedding is necessary – on a regular basis. This doesn’t have to be a daily requirement, depending on the cleaning system you use. Some chicken owners use a sand bedding system and “scoop” any chicken poop that appears daily, just like you’d do with a cat litter box. But really – who has time for that? We don’t!
Instead, we prefer mobile coops that are entirely (or almost entirely) open to the ground. These coops are sometimes called chicken tractors. When it’s time to clean, all we do is move the coop to fresh grass – and, in the case of the Eglu Cube, dump out the internal droppings tray and refresh the bedding in the nesting boxes. This keeps our cleaning workload very low, and our chickens stay healthy and parasite-free.
And, of course, make sure you collect your delicious eggs every day! If you don’t, it can lead to a laundry list of problems, such as egg eating and unwanted chick development. Plus, fresh eggs are one of the main benefits to raising backyard chickens, so why would you want to waste them?
Final Thoughts
The prospect of raising backyard chickens shouldn’t be daunting, even for newbies. All in all, chickens are incredibly easy keepers; beyond feeding them, providing water, keeping their coop clean, and making sure they’re healthy, there really isn’t much more for you to do – besides enjoy them, of course!
What do you think of our backyard chicken starter guide? We’ve tried to include everything we can think of that a beginner might need, but have you noticed anything important that we forgot? If so, feel free to send us an email and let us know!
Cover art for this post was created by Matthis Volquardsen.
This article may contain affiliate links and advertisements. If you make an online purchase after clicking one of the links in this article, we may receive a commission. As an Amazon Associate, Little Onion Farm earns from qualifying purchases. All of the logos, photographs, banners, and links in this post are the intellectual property of their respective owners, and are used to promote our affiliate partnerships. Thank you for supporting Little Onion Farm and our partners!
Copyright © 2025 Little Onion Farm – All Rights Reserved.
